Easy Peasy Compositions 2
Are there shortcuts to moving forward from that ‘blank paper’ stage to actually finishing a cohesive design?
This post is written as a guide for digital scrapbookers who may need a helping hand working with my ready made mixed media style papers, want to speed up their design process or for when their ‘mojo fairy’ has gone awol. The tips are also helpful if you are a hybrid scrapbooker or enjoy other paper crafts.
Are there shortcuts to moving forward from that ‘blank paper’ stage to actually finishing a cohesive design?
High quality Digital Mixed Media Scrapbooking supplies can be powerful tools, here are some suggestions:
Take a peek through your Rachel Jefferies stash of ready made Mixed Media Papers - You are looking for papers that support a suggested composition.
Look for backgrounds where
Design elements may intersect
Where there are leading lines
Seek papers with areas of interest that could be used to support focal points. Where are there interesting marks that you could connect together?
Look at the shadows or the lighting of the paper. Are there areas that are highlighted, brighter, or calmer where you could focus on building your design out?
Papers that have ready made art marks or areas that are stamped or embellished in some way will help in your overall and finished design - take note of where the visual points of interest are. Where are there marks that could provide a backdrop or mount for a photo?
Many of my ready made Mixed Media Background Papers have already done the hard work for you. They help you in determining where to place your photos or embellishments.
Once you have selected some papers using the suggestions from the list above I encourage you to examine the areas of the paper where you could start building out your composition.
Refer back to where the design elements intersect or where there are leading lines. Examine the marks in the papers and the areas of interest and decide which paper is calling to you to begin creating.
You will need to select an area of the paper as a starting point so this is where the tips above are handy as once you make a start you can move forward in a reactive way depending on how your design is building out.
Maybe you see a gap between certain areas of the paper, or an intersecting line where you may choose to start placing your photo or a key embellishment.
Don’t forget also about the power of a visual triangle, see my earlier composition article below . . .
Inspiring Compositions
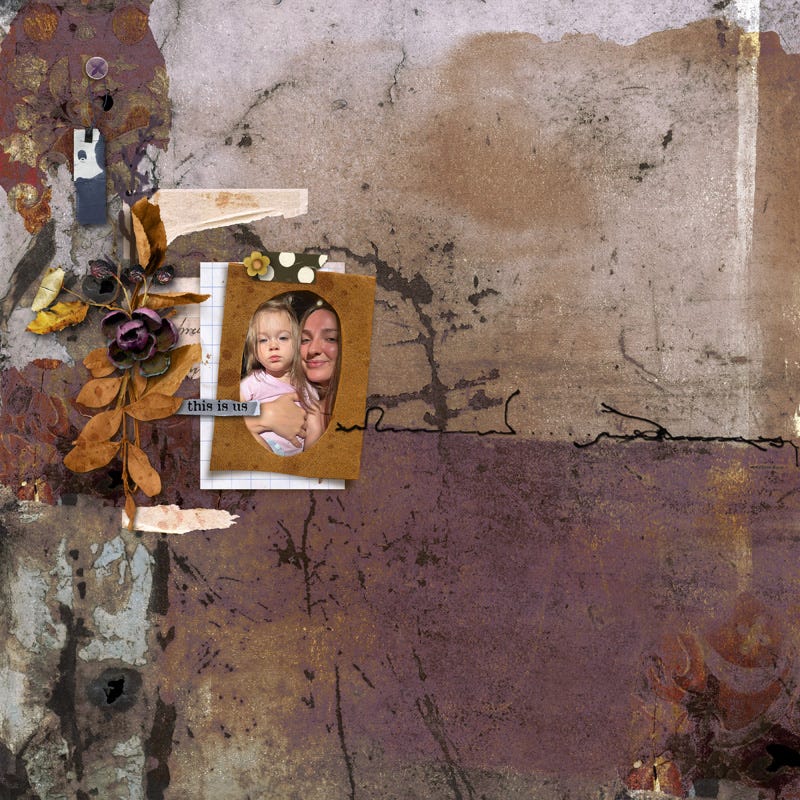
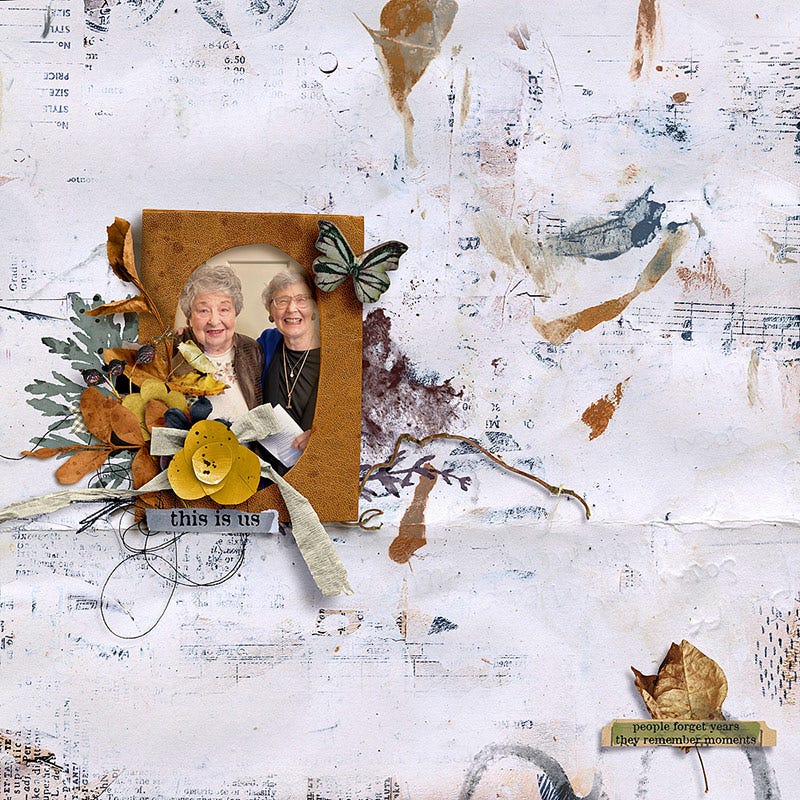
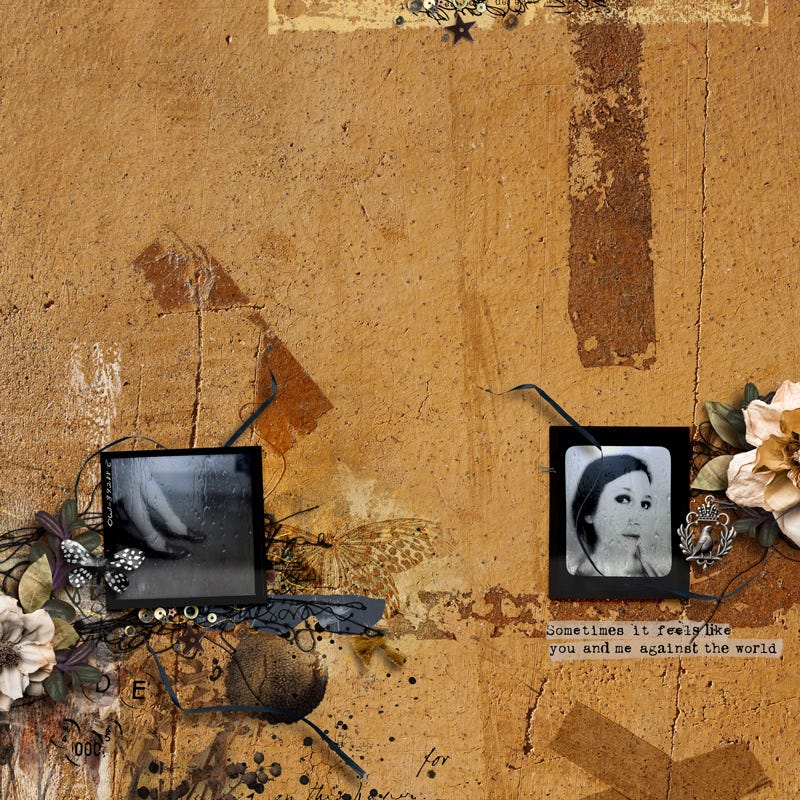
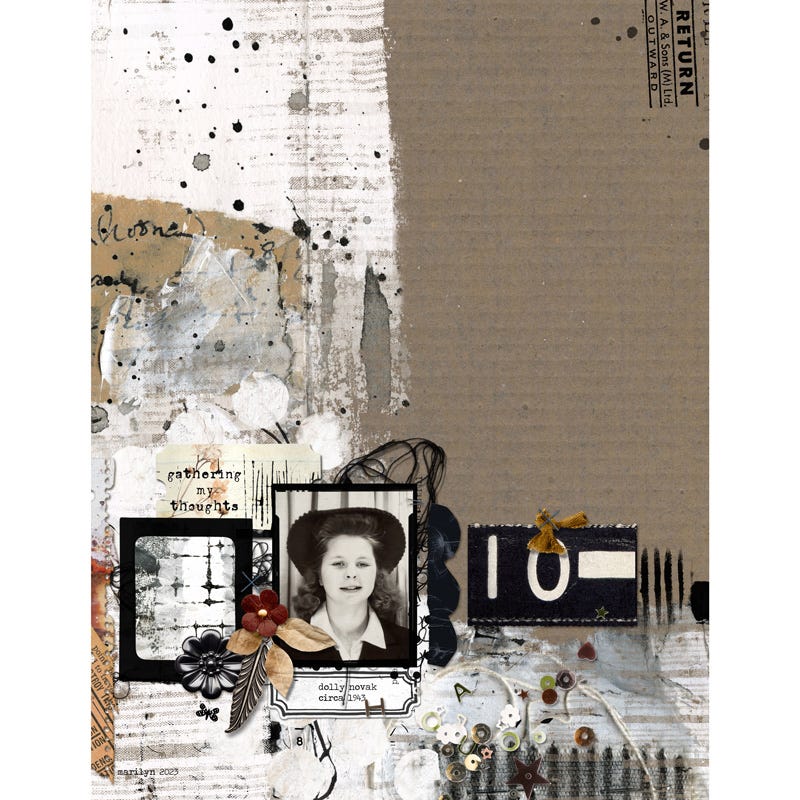
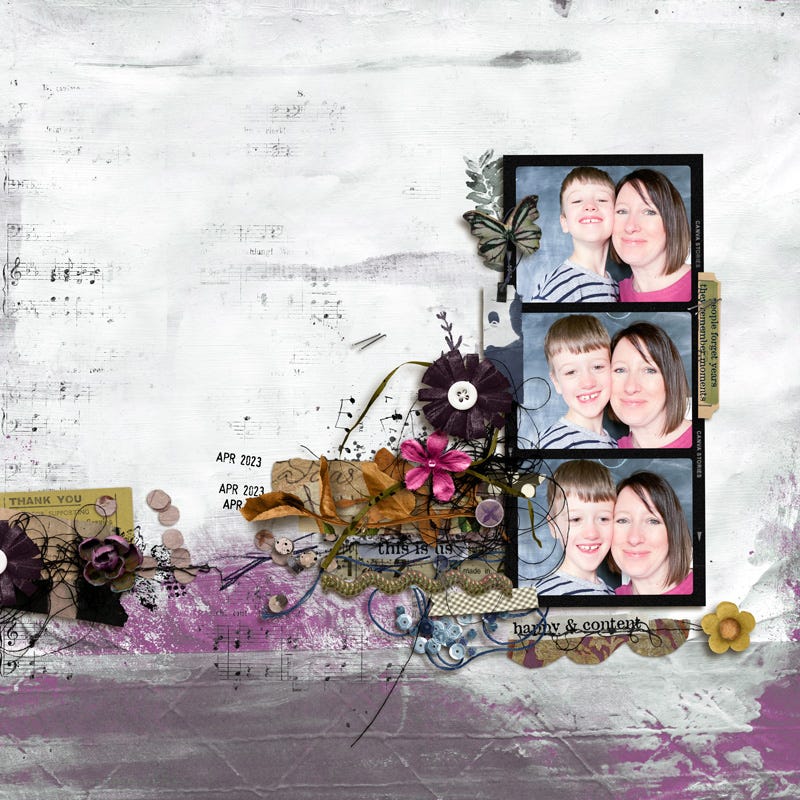
Here is some Scrapbook Inspiration demonstrating the suggestions listed above.
Take notice of how the digital artists have used the leading lines, used intersecting lines and even paper creases in the paper that break up the space of the canvas and use lines, they have also used art marks to support their design.
Examine where the photos and key embellishments have been placed in these creations, I hope these inspire you somehow and get you thinking :)
Click the Button Above or CLICK HERE to purchase these products at 50% off today. Please note this discount offer and link expires tonight at 11.59PM EST
Need help with anything else?
If you’d like me to write a specific article or tutorial or you need extra help please let me know in the comments.
And as always, if you found these tips helpful, please let me know as it helps to plan future content and encourages me to keep writing :)
A little comment or like goes a long way 💞



That’s a nice list of artistic principles to work with. I like the suggestion to look at the background paper for artistic elements that you can build on, such as leading lines or focal points in the background. I usually start with my photo and then look for a background to work with it. So it’s a good idea to switch it up and start with the background.